Are you thinking to enable or disable Fast User Switching feature in Windows 10 computer?
Windows 10 operating system came with a lot of new amazing features and updates to the old features which already came with earlier versions of Windows.
Fast User Switching is a feature which was available in earlier versions of Windows and which comes in Windows 10 too. Using fast user switching feature you will be able to switch from one user to another without logging off. In order to use fast user switching in Windows 10 system, firstly you will have to enable fast user switching mode.
Today in this Windows 10 tutorial, we are going to tell ho how to enable fast user switching in Windows 10 PC and how to disable fast user switching in Windows 10 computers but before we tell you how to do that, let’s find out what is fast user switching in Windows 10 and what are the advantages of using fast user switching?
You may also be interested in checking out:
What is Fast User Switching in Windows?
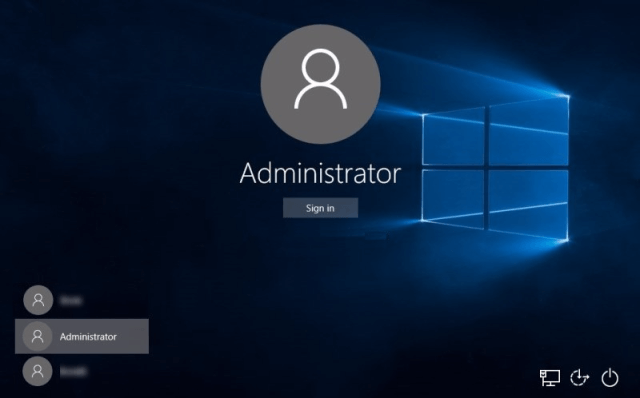
Windows 10 Fast user switching is a feature with which a user can log into the Windows 10 computer even when other users are logged in with their applications running in the background. This means that with this feature, multiple users will be able to login to the computer and do their work without interrupting any other user.
In simple words, the feature which helps in switching users without logging off called Fast User Switching. But one thing you have to must keep in your mind that if you are logged onto a remote computer (for the example: you are using a Remote Desktop Connection) then you will not be able to use fast user switching on that computer.
Warning: Make sure to save any open files before switching users because Windows doesn't automatically save files that are open. If you switch to a different user account and that user shuts down the computer, any unsaved changes you made to files that are open on your account will be lost.
What are the Advantages of Fast User Switching?
If there are a lot of Windows 10 users registered on your computer then the fast user switching will come into play. The advantage of this feature is that it allows all the users to do their work on a computer. Without fast user switching, you have to close the applications which were being run by other users. There won’t be any interruption in the work which other users are doing if you have to enable fast user switching feature.
How to Enable or Disable Fast User Switching in Windows 10
After reading the above details, we hope that now you know what is fast user switching feature and the advantages of using it. So, now let’s check out the methods to enable or disable fast user switching in Windows 10 system. Since enabling or disabling fast user switching in Windows 10 using Local Group Policy Editor and Windows Registry Editor are some of the most appropriate ways. So, we will follow these two methods in order to enable / disable fast user switching in Windows 10 Computer:
Method 1: Enable or Disable Fast User Switching in Windows 10 using Local Group Policy Editor
This is the first method which you can follow to enable fast user switching in Windows 10. Follow the steps which we have shared below to enable and disable fast user switching.
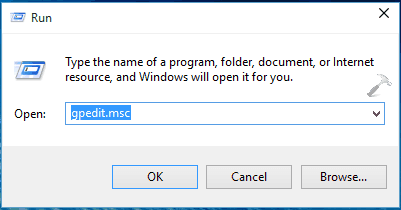
Step (1): First of all, open Run dialog box on your Windows 10 computer. You can open Run dialog box by pressing Windows + R keys together..
Step (2): In the Run dialog box, you have to enter gpedit.msc command line.
Step (3): Now, you will see the Local Policy Editor on your computer. You need to use Local policy editor to enable or disable fast user switching windows 10.
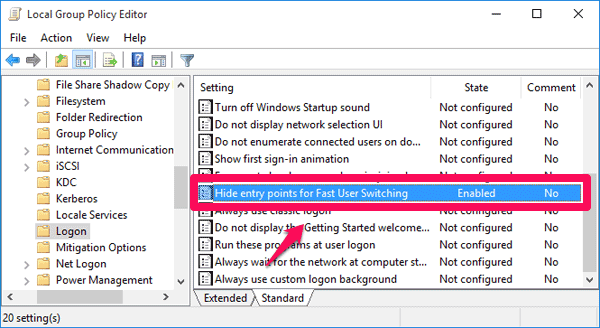
Step (4): From here you have to go to Local Computer Policy → Computer Configuration → Administrative Templates → System → Logon.
Step (5): Now from the right side pane, you have to click on Hide entry Points for Fast user switching file.
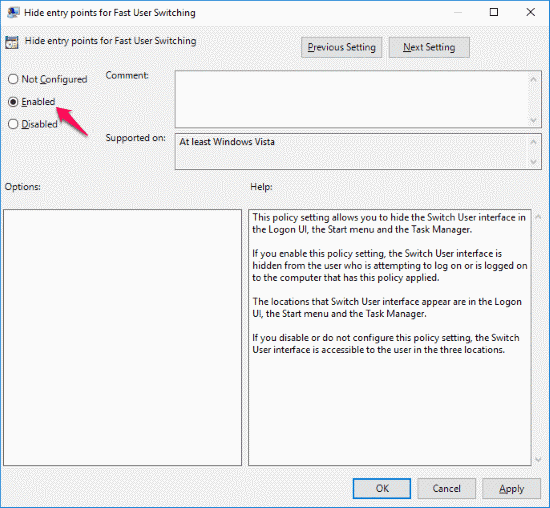
Step (6): Click on the Enable button and the Fast user switching feature will be enabled on your computer.
If fast user switching feature is already enabled on your PC and you want to disable fast user switching in Windows 10, you can simply click on the Disable button. That’s it!
You might also like: How to Restrict Administrative Tools Access in Windows
Method 2: Enable or Disable Fast User Switching in Windows 10 using Windows Registry Editor
If you are not able to enable fast user switching by following the above method you can take help of the Windows Registry editor. Here’s how to do so:
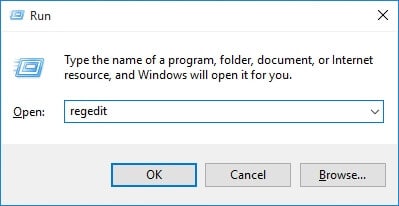
Step (1): At first, open Run dialog box by pressing Windows + R keys together.
Step (2): To open Registry editor, enter regedit in the Run dialog box and hit the Enter key.
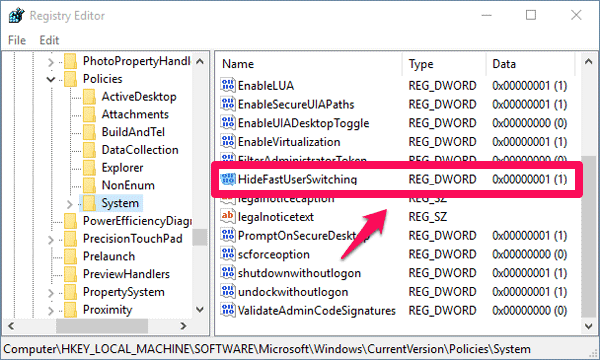
Step (3): Now you have to expand HKEY_LOCAL_MACHINE → SOFTWARE → Microsoft → Windows → CurrentVersion → Policies → System.
Step (4): Here you have to find a value which says HideFastUserSwitching. If you don’t see this value here create it by right clicking on the System folder and then selecting New DWORD 32-bit value. Type HideFastUserSwitching and hit Enter Key which will create the value.
Step (5): Now double click on the value you created and then change its data to “0” which will enable Fast user switching feature.
In order to disable fast user switching in Windows 10 using Windows Registry, follow the same steps and set the data to “1” in the place of 0. That’s it!
Conclusion
As now you have enabled fast user switching on your Windows 10 computer, you take benefits of this feature in order to switch users without logging off or closing your programs and files. These are the only two most accurate methods which can be used to enable or disable fast user switching in Windows 10 operating system.
If you are having any questions regarding the above methods to enable fast user switching or disable fast user switching in Windows 10 computers, use the comments section below to ask them. We hope you found this Windows 10 fast user switching guide useful for you. You may also be interested in checking out: How to Make Sure No One is Monitoring Your Computer
